PEEL & STICK INSTALLATION & REMOVAL
Installation is just a few steps away. Our DIY-friendly removable wallpaper is a perfect solution for renters and those who want to ensure their walls stay damage-free.
HOW TO INSTALL REMOVABLE WALLPAPER
Before you begin
Tools you'll need:
- Level and a pencil
- Step stool or step ladder
- Straight edge or ruler
- Sharp blade or utility knife
- Smoothing tool (squeegee or wallpaper brush)
Installation is best done together with someone - it's easier and more fun that way!
After receiving the wallpaper, take it out from the original packaging and unroll the panels. It must remain in this state for at least 48 hours.
Take a final look to make sure the walls are smooth. Textured walls will make it more difficult for the wallpaper to adhere.
Do not apply if your walls have: unpainted drywall, cracking paint, humidity spots, knockdown, orange peel, or popcorn texture. If any of these describe your walls, please make sure to fill holes and sand bumps so the wall is smooth. We do not recommend applying on glossy walls (only matte / semi-matte) or on top of already applied wallpapers.
Freshly painted and primed walls must dry for 7 days before installing the wallpaper.
Step 1
Prep your walls
First, remove your outlet covers, light switches, register covers, etc.
Next, use a wet cloth or sponge to clean the surface with warm water and mild soap and dry the walls well. Don't use strong chemical cleaning products or the wallpaper may not stick well to the wall. Let the walls dry for 24 hours.
Surfaces not recommended for installation: Highly textured walls, multicolored walls, on top of already wallpapered walls, brick/cinderblock, unpainted drywall/sheetrock, on cracking paint, humidity spots, orange peel, popcorn texture, or outdoor areas.
Step 2
Map it out
Unroll your wallpaper panels and lay them flat, allowing the panels to uncurl over a 48 hour period. During this time the wallpaper will adapt to new environmental and climatic conditions.
Identify where your panels will be placed within the room. Make sure you have enough wallpaper to cover your area. If you have a mural type wallpaper, numbers on the sheets will form a sequence for placement.
Step 3
Apply the wallpaper
1. Before applying, use a level and a straight edge to draw a straight vertical line on the wall where you want to start application.
2. Begin at the highest edge of your wall, against your ceiling or crown moulding. Align the top of the artwork with the ceiling, making sure it is straight and even on the wall.
3. Place the top of the first roll and peel away the paper backing a few inches at a time as you apply the panel downwards. Use your level to ensure the first panel is vertically straight.
4. Make sure to stick the first sheet exactly to your drawn plumb line. Every next sheet will depend on the accuracy of the first one.
5. Avoid dragging or pulling the wallpaper too hard. If you apply stretched wallpaper it will eventually shrink back and look uneven.
6. Keep removing the protective backing from top to bottom a few inches at a time. At the same time, smooth out the surface of the wallpaper, going from top to bottom and side to side. Straighten out the air bubbles from the center of the wallpaper to the edges using a squeegee or your smoother tool.
7. If you need to adjust the placement, slowly peel the paper off the wall and reapply as necessary.
8. Hang the second panel to the right of the first panel. Make sure the artwork aligns from the top of the wall downwards.
9. The wallpaper panels should be hung edge to edge without any overlapping. Gently and evenly press the panels together to ensure no visible seams.
10. Repeat this process. Work from the ceiling downwards and from the middle to the edges, smoothing as you go.
11. After 24 hours, repeat the smoothing process.
Step 4
Trim the excess
Once you’ve applied and smoothed all strips, use your straight edge and a sharp blade to trim excess wallpaper on the top and bottom of your wall, around windows and doorframes.
Do not use dull scissors or blades, the weave will fray. Make precise cuts to achieve clean edges.
Enjoy your new room!
HOW TO REMOVE
Starting in the top left corner, pry up the wallpaper gently with a putty knife. Once it starts to come up, peel very slowly at a 45° angle and at a constant speed. Do not pull straight or yank it fast, this could damage the wall. If necessary, use a heat gun or a blowdryer to warm the adhesive as you pull.

Best Sellers
-
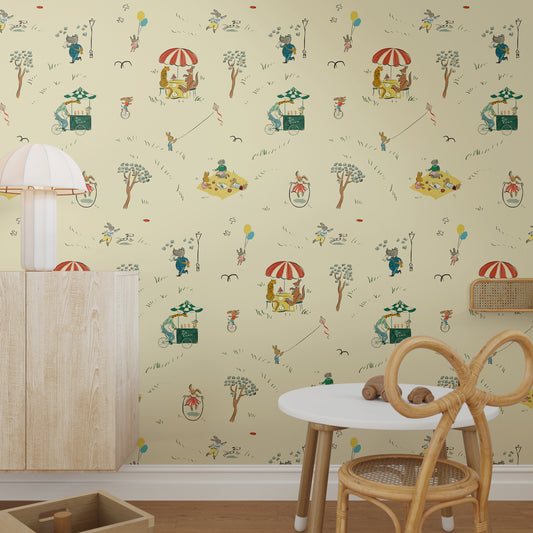
Parks Wallpaper, Cream
5.0 / 5.0
(3) 3 total reviews
Regular price From $8.00 USDRegular priceUnit price / per -
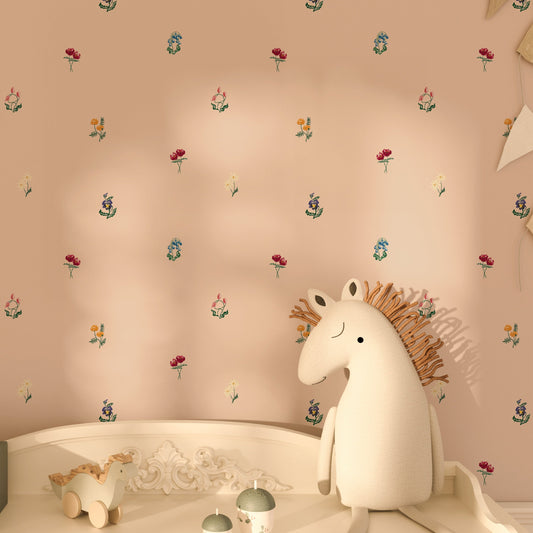
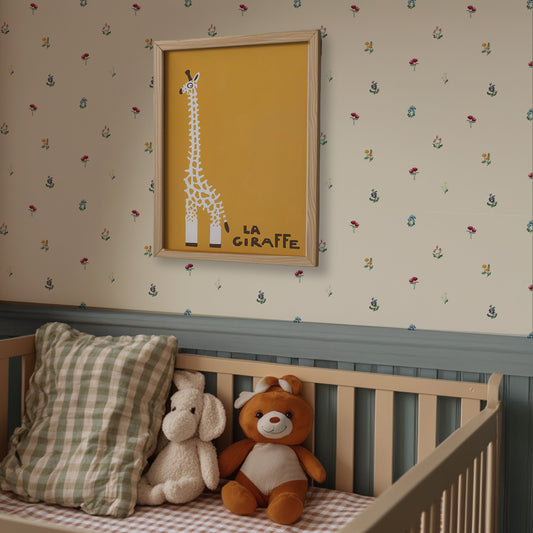
Lucy, Rosebud
Regular price From $8.00 USDRegular priceUnit price / per -
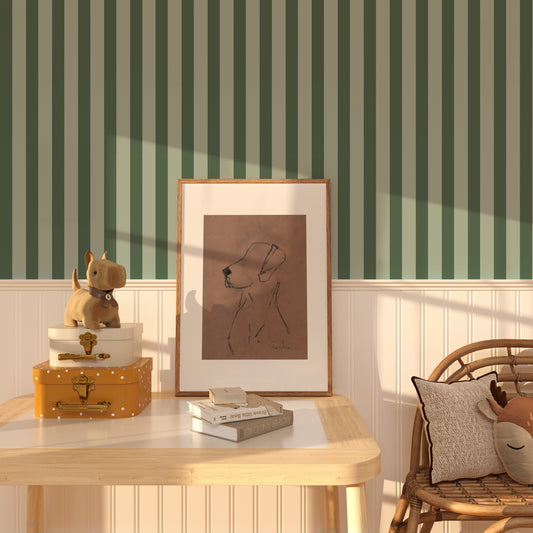
Perfect Stripe, Green
5.0 / 5.0
(1) 1 total reviews
Regular price From $8.00 USDRegular priceUnit price / per -
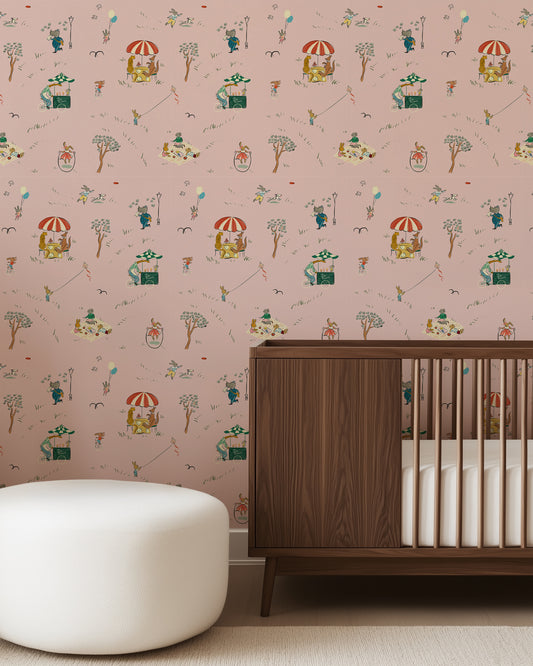
Parks Wallpaper, Blush Pink
5.0 / 5.0
(1) 1 total reviews
Regular price From $8.00 USDRegular priceUnit price / per -
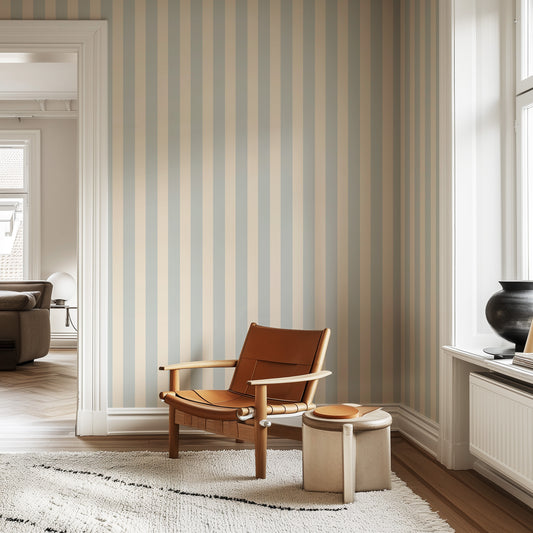
Perfect Stripe, Light Blue
Regular price From $8.00 USDRegular priceUnit price / per -
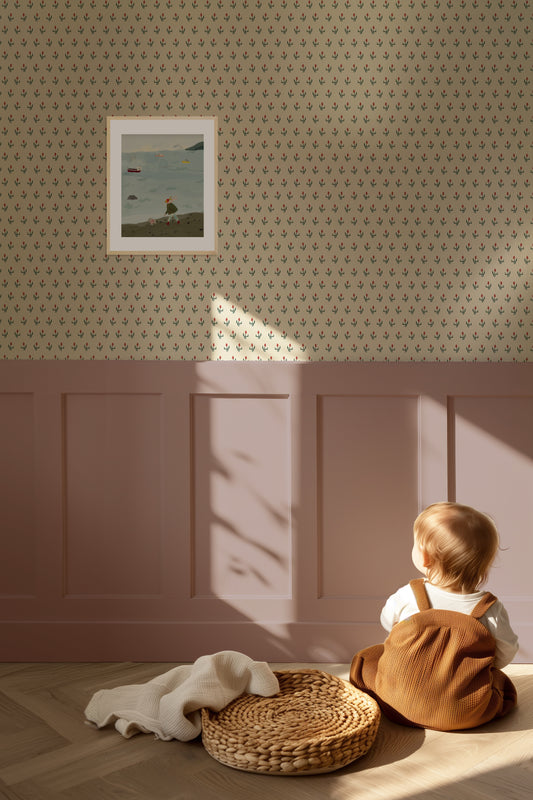
Painterly Tulip
5.0 / 5.0
(1) 1 total reviews
Regular price From $8.00 USDRegular priceUnit price / per -
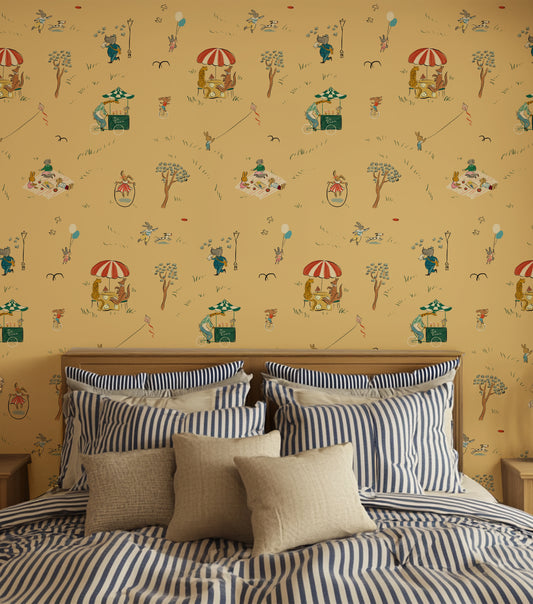
Parks Wallpaper, Dandelion Yellow
3.0 / 5.0
(1) 1 total reviews
Regular price From $8.00 USDRegular priceUnit price / per -
Lucy, Bone
Regular price From $8.00 USDRegular priceUnit price / per


